Before creating the project
Before opening the software, write down the basic job of the project. For a first exercise, keep it simple: a start button, a stop button and a run lamp. If you are using real hardware, confirm the PLC type, supply voltage, input/output wiring, IP address plan and safe test area before downloading anything.
TIA Portal versions and menus can vary, so this guide focuses on the correct workflow rather than pretending every screen will look identical on every installation.
Step 1: create a new project
Create a new project and give it a clear name. Avoid names such as Test1 or New Project. Use something useful, such as S7_1200_Start_Stop_Training. Good naming helps later when you have several exercises or versions.
Save the project in a known location. For training, it is sensible to keep a folder structure for exercises, backups and screenshots.
Step 2: add the PLC device
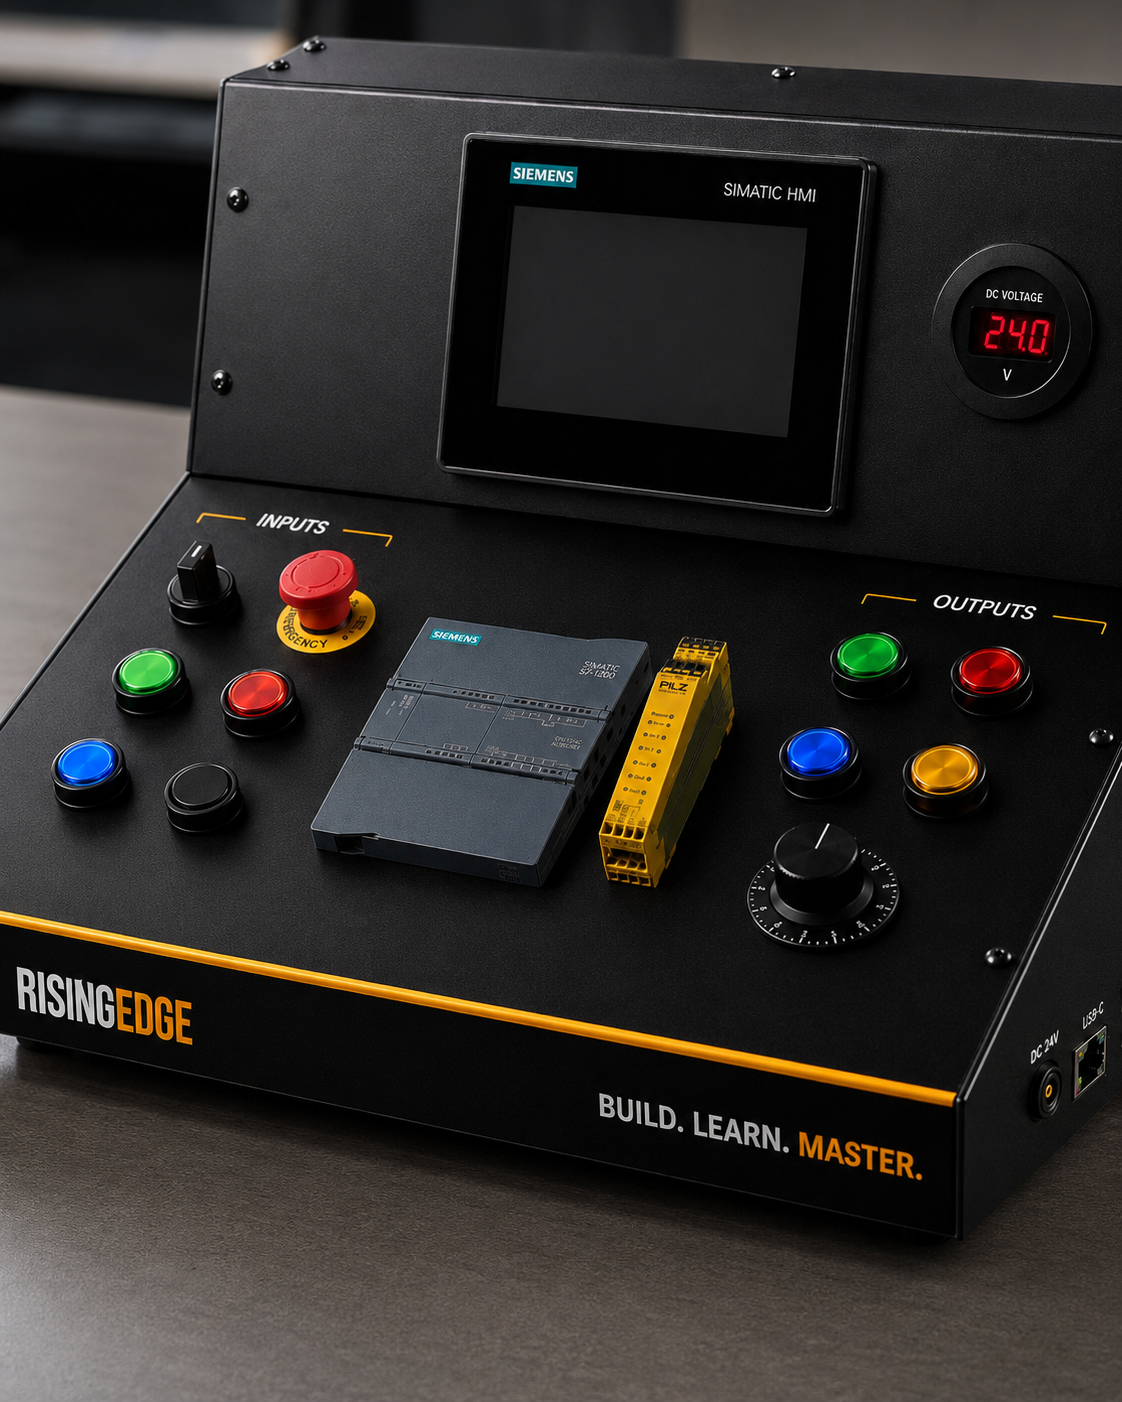
Add the PLC CPU that matches the hardware you are using. The CPU order number and firmware version should be checked against the real device where possible. This matters because the project hardware configuration should match the PLC you plan to use.
For a Siemens S7-1200 training setup, the CPU is added in the device configuration area. If extra signal modules or communication modules are fitted, they should also be configured correctly.
Step 4: write a simple ladder logic network
Start with one small ladder network. A common beginner exercise is a start/stop latch. The start signal sets the run command, the stop signal removes it, and the run command controls the lamp output.
Keep the first program easy to read. Do not add timers, counters, HMI buttons and fault logic until the basic input-output behaviour works correctly.
Step 5: compile, download and test safely
Compile the hardware and software before downloading. Compilation checks for many project errors, but it does not prove the real machine is safe or correctly wired. If you are connected to a real PLC, check that you are downloading to the correct device.
After downloading, test one signal at a time. Press the start button, check the input status, watch the logic, and confirm the output lamp behaves as expected. If something does not work, troubleshoot calmly: power, wiring, address, tag, logic, download and PLC mode.
Common beginner TIA Portal mistakes
Common beginner mistakes
- Selecting the wrong CPU or firmware version in the hardware configuration.
- Creating tag names but assigning them to the wrong physical addresses.
- Downloading to the wrong PLC on a network.
- Making the first program too complicated before the basic input and output test works.
- Confusing download and upload. Download normally sends the project from the computer to the PLC. Upload normally brings data from the PLC back to the computer.
Frequently asked questions
What should my first TIA Portal project include?
A good first project includes one PLC, a few clear tags, simple ladder logic and a safe input-output test.
Do I need real hardware for a first TIA Portal project?
You can learn parts of the workflow with software and simulation, but real hardware helps you understand wiring, addresses, signals and commissioning.
What is the first thing to check before downloading?
Check that the configured PLC matches the real PLC and that you are connected to the correct device.
What is the difference between download and upload in TIA Portal?
Download normally sends the project from your computer to the PLC. Upload normally brings information from the PLC back to your computer.
Why should beginners start with a small project?
Small projects are easier to test, fault-find and understand. Once the basic workflow is solid, extra features can be added safely.